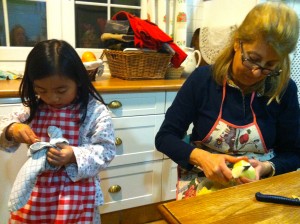
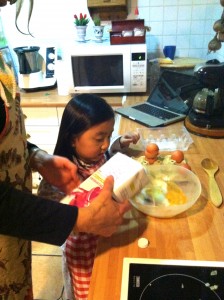
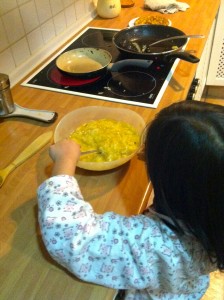
My host mom, Charo, spends a lot of her day preparing meals for the family. It’s a rare sight to not find a pot of chicken or lentils or sausage slowly stewing away on the stove all morning. We’ve been eating a lot of hearty and warm foods specifically for winter, but also some Spanish classics like paella, pisto, jámon, croquettes, and of course, tortilla. I’m not sure how common-knowledge this may or may not be, but Spanish tortilla does not equal Mexican tortilla. In America, we refer to a tortilla as a wrap: a beloved vessel for our beans and cheese and guacamole. A Spanish tortilla, however, is quite different. The tortilla is basically an omelette. A super awesome and delicious omelette, that is. It can be made with a variety of ingredients and almost every restaurant and mother in Spain has it’s or her own version. From the beginning of my stay here, I’ve told Charo that I too enjoy cooking and would love to learn some Spanish recipes, and finally I have. Every Sunday night Charo makes tortilla, and this time she (and Paula) taught me how it’s done.
And now, I will pretend I know how to be a food blogger. (Warning: Charo doesn’t use measuring tools so all of the quantities are my best-guess…)
Charo’s Spanish Tortilla: serves about 4
Ingredients and tools:
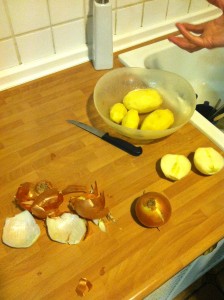
- 4 medium white potatoes
- 2 small/medium white onions (or 1 large)
- 4 large eggs
- salt
- non-fat milk
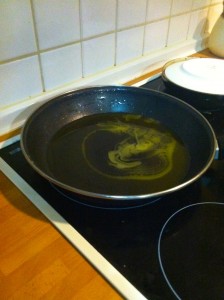
- olive oil (a lot… you’ll see)
- large frying pan & small frying pan
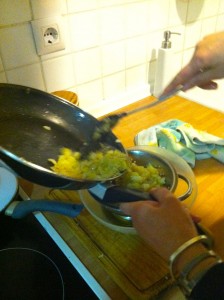
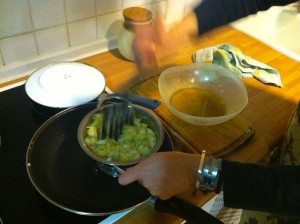
- strainer
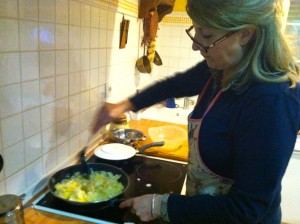
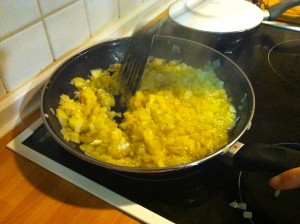
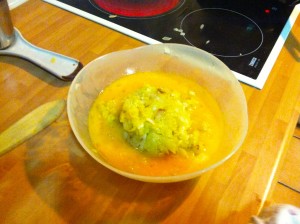
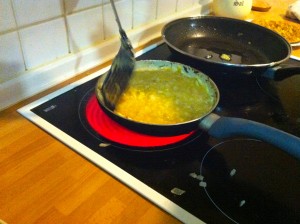
Step 6: Put the small frying pan on medium-low heat and swirl in a little bit of olive oil to coat the pan. “The smaller, the fatter.” -Charo, referring to the pan to tortilla size ratio. When it is heated up, pour in the mixture and make sure the middle doesn’t burn by poking at it a bit with the spatula and keeping the heat low-ish. Also keep pushing down the eggs around the edges so they don’t stick to the pan.
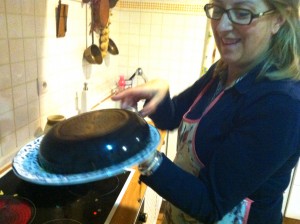
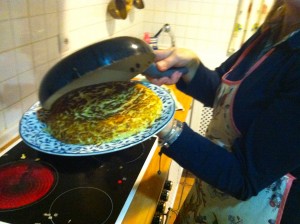
Step 7: Keep poking at the tortilla until you deem it about half-cooked. Now it is time to flip it over. Find a plate that is roughly the same size as the frying pan and flip the tortilla (uncooked side down) onto the plate and then slide it off the plate right back into the pan.
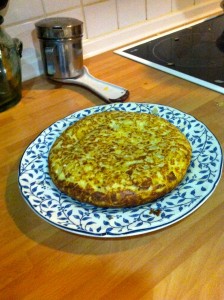
Step 8: Turn the heat off and cook the second side of the tortilla until you think it is done (sorry I can’t be more specific). Charo says that it is best not to over-cook it. You can always flip it back onto the plate to check the overall done-ness. Next, decide it is done, and there you go! Enjoy your traditional Spanish tortilla! It should look like this:
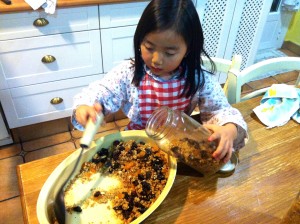
P.S. Tortilla wasn’t the only thing we cooked in the kitchen that night. I taught them how to make my famous granola because I wanted to make them something cool and American with maple syrup (NH pride), but they already knew all about pancakes. Luckily, it was a huge huge hit. Charo just kept repeating”¡Que rico!” over and over. (That’s how they say something tastes delicious.) She told all of her friends about it and gave some to my host brother’s girlfriend, Elena, who loved it as well. Here’s a picture of Paula helping scoop the finished product into mason jars.

Elena….now this is true cultural exchange: food! 🙂 That’s how we weedle our way into anyone’s heart and how they worm their way into ours. I love it! And, their tortilla looks absolutely delicious…ready to try it out over here in the US. So so glad they got a chance to taste the delicious Boom Granola. What a treat for them. Thanks for the tutorial. I can’t wait to try this at home. 🙂
Thanks for sharing this slice of life. Please keep it coming. Another great post, and photos. And you certainly are a food blogger now, too.
We will try to re-create the tortilla here, too. Gracias.
How do you say Yummy!
Love the photos too!
And the “NH Pride” reference!
Sounds like you are having a great time,
Love from your NYC crew
Thanks for sharing this wonderful dish… I can’t wait to try it! I am so envious of your experiences…I love hearing about your travels…love you…Auntie Sue